The full moon is a powerful element and brings out the best and worst qualities in all of us. Best practices when it comes to the big cheese wheel in the sky is to take advantage of the energetic reset and set intentions for the next moon cycle. But how does one do this? Do we set up a drum circle? Must there be a sacrificial lamb? All these answers are answered with the AirBrush guide to setting full moon intentions. And while we’re at it we’ll be throwing in a quick full moon edit… Who would we be without a tutorial! So get out your crystals, y’all. It’s time to set some intentions.
Step One: We Need A Moon
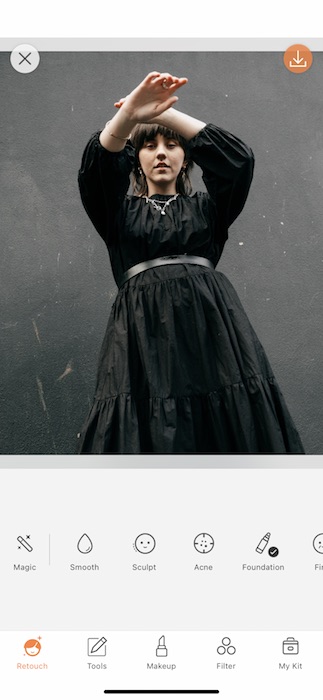
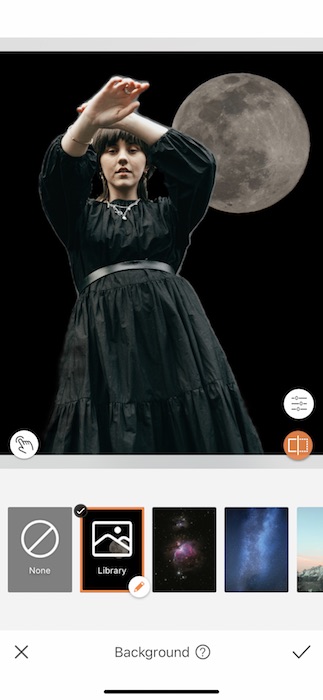
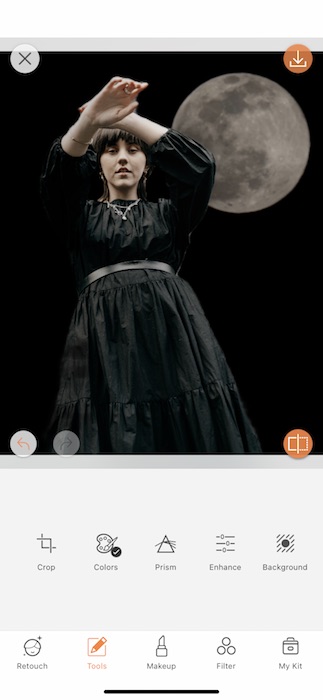
We could spend weeks planning the perfect full moon picture, carefully monitoring the moon’s cycle. Or we could use the Background Tool.
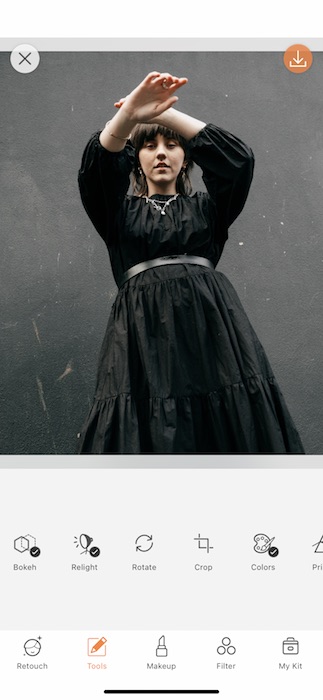
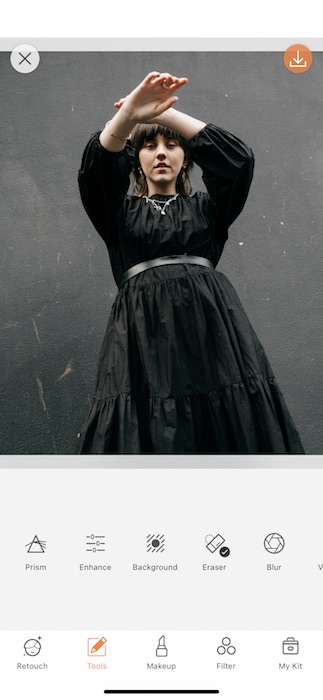
- Find your Background Tool in your Tools Tab.
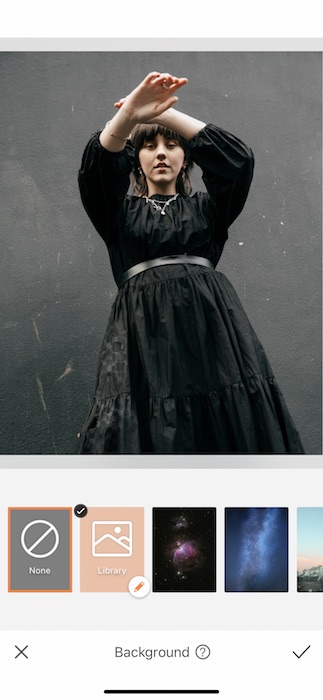
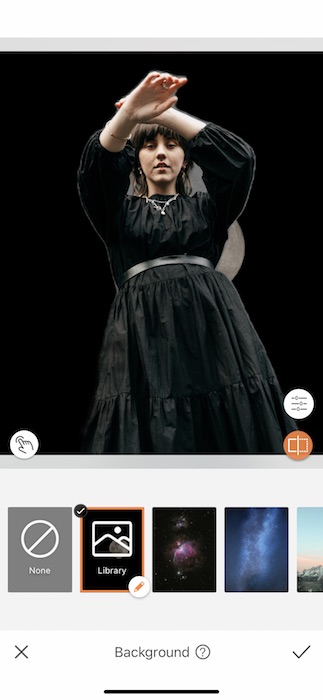
- Here you’ll find a vast collection of preset Backgrounds to create your own masterpiece.
- For our purposes today we’ll be using the Custom Background feature to upload the perfect full moon.
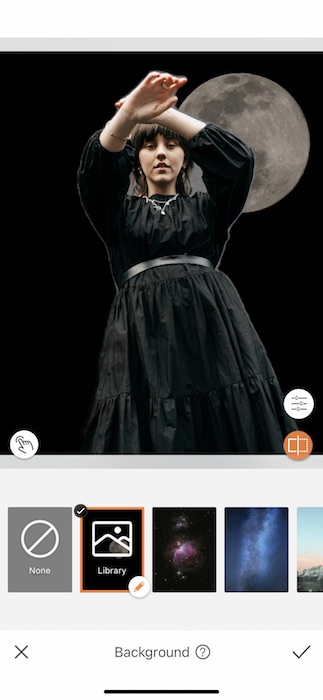
- Make sure to save a full moon image on your phone then tap the Custom feature to upload.
- Most images will need a bit of fine tuning to eliminate any color borders, spaces in between arms & legs, etc.
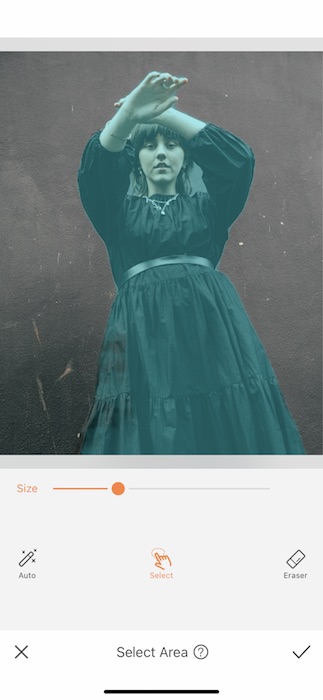
- Tap the white icon on the bottom left of your image to open the Select Area feature.
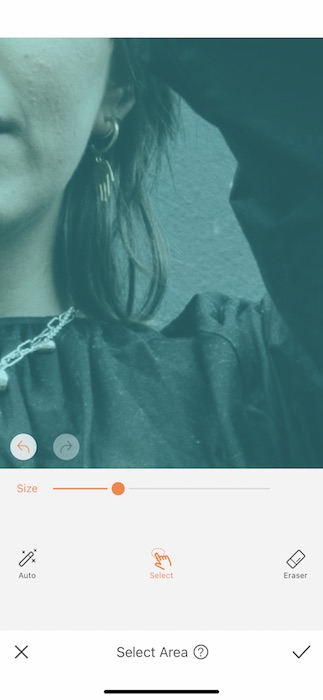
- Adjust your Brush Size by adjusting the center toggle.
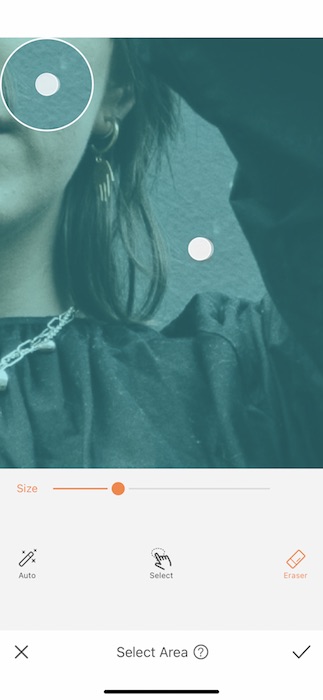
- You can then zoom in to the area you need to select or erase.
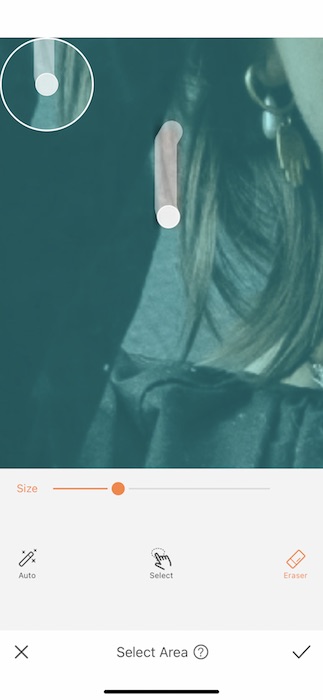
- Begin swiping across the space.
- Tap the check mark to save your edit.
The Finer Things
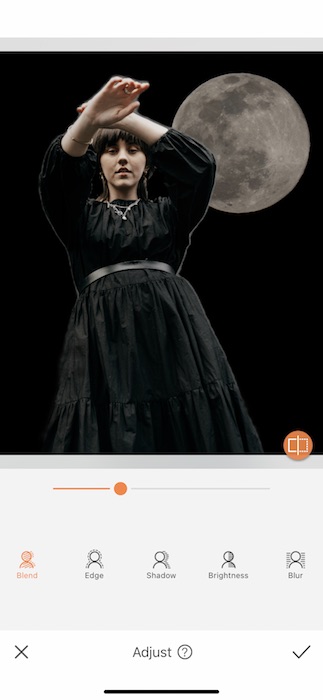
- Now we’ll need to make some adjustments. Open the Adjust Tool by tapping the white icon on the bottom right of your image.
- Here you’ll be able to make all sorts of changes to make your new image as realistic as possible.
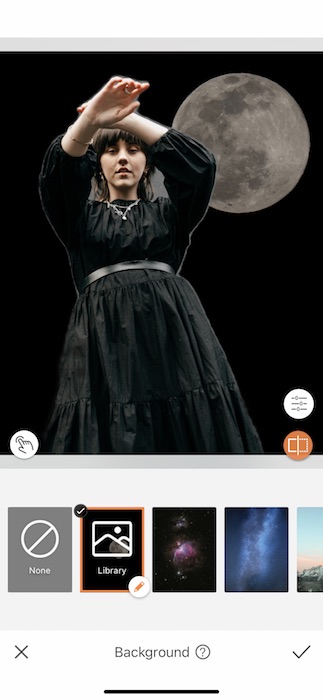
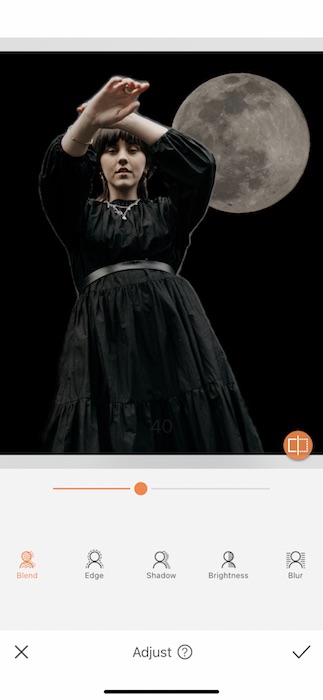
- Start with the Blend Feature to color match your image.
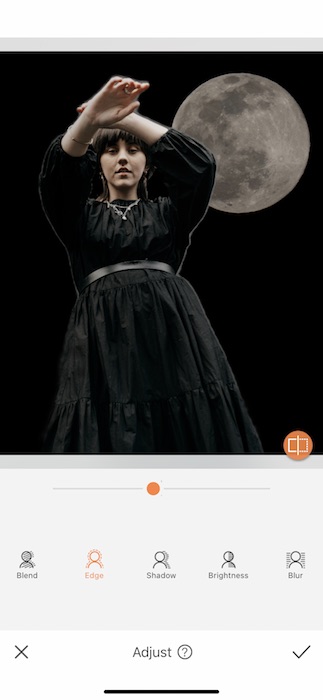
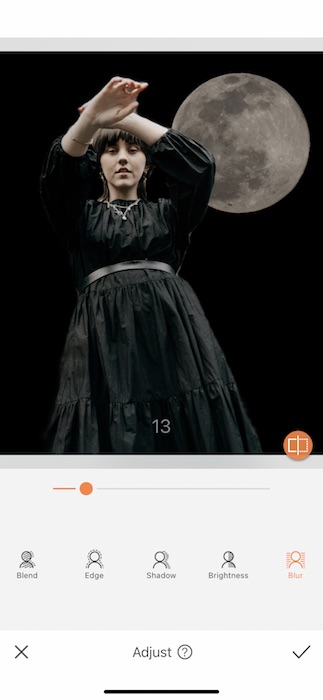
- You can then use the Edge Tool to remove any color borders left from the original image.
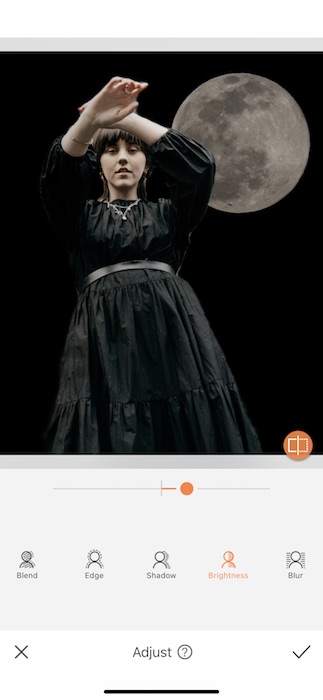
- The Brightness Tool allows you to increase the light on your focal point without affecting the Background.
- Using Blur on your Background gives the image depth and makes sure it’s super believable.
Twirl, baby, twirl
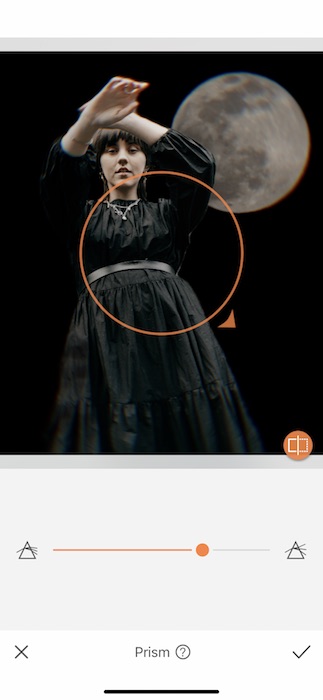
Setting full moon intentions can be magical.. Let’s give our edit some witch treatment.
- In your Tools Tab you’ll find the Prism Tool.
- Use the Prism Tool to give your edit a fun spin.

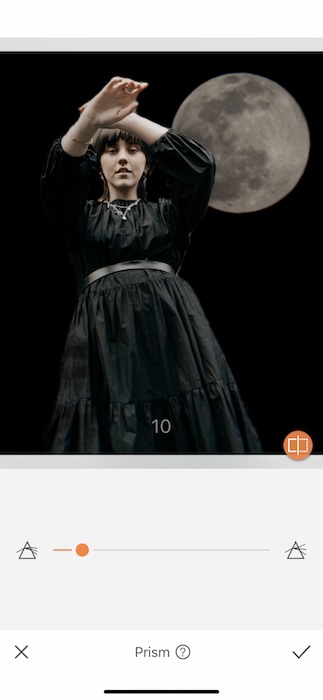
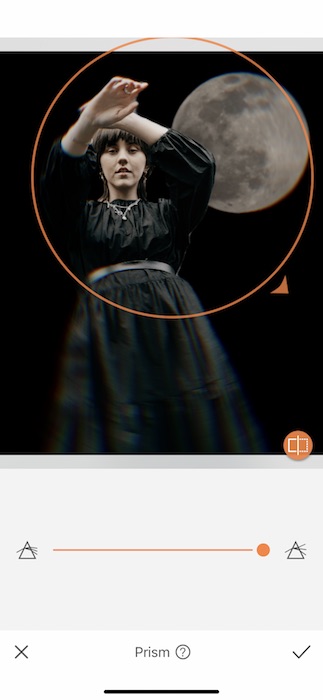
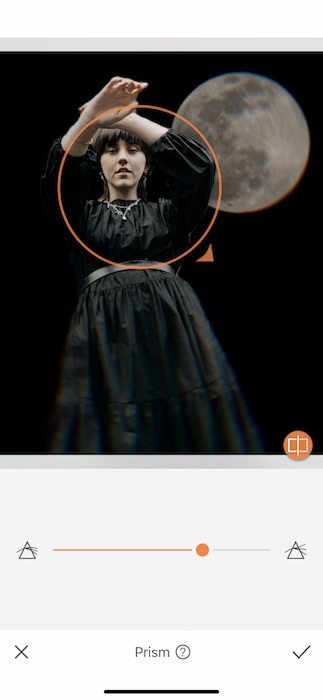
- You can drag the orange circle to wrap around your focal point.
- Once you’ve got it in the right spot you can drag the orange arrow to expand or shrink the image.
- Finally, use the center toggle to adjust the strength of the Prism Tool.
- Tap the check mark to save your edit.
Into the Stars
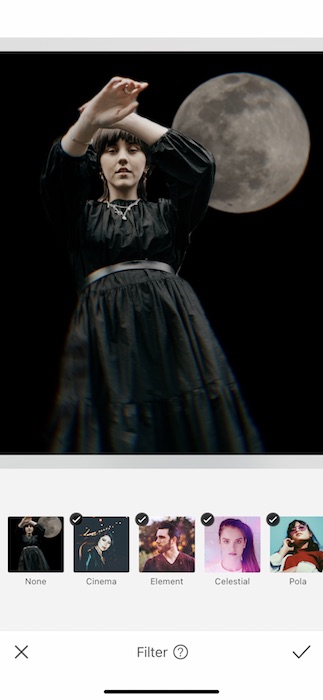
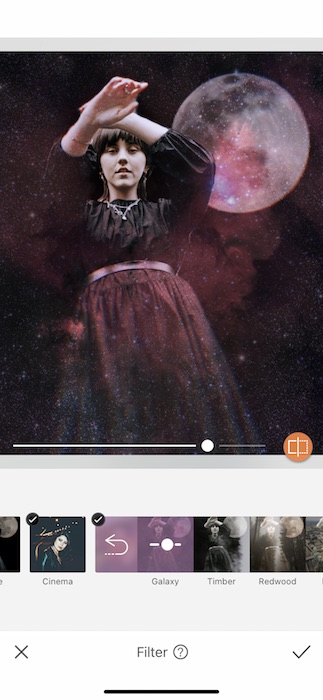
Not even a full moon post can get away without the perfect Filter.
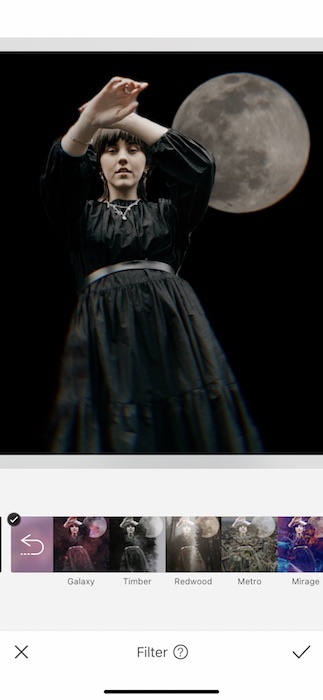
- Could there ever be a better moment to use the Galaxy Filter?
- Find the Galaxy Filter in your Element Filter Pack.
- Use the center toggle to adjust the strength of your Filter.
- Tap the check mark when you’re ready to save.

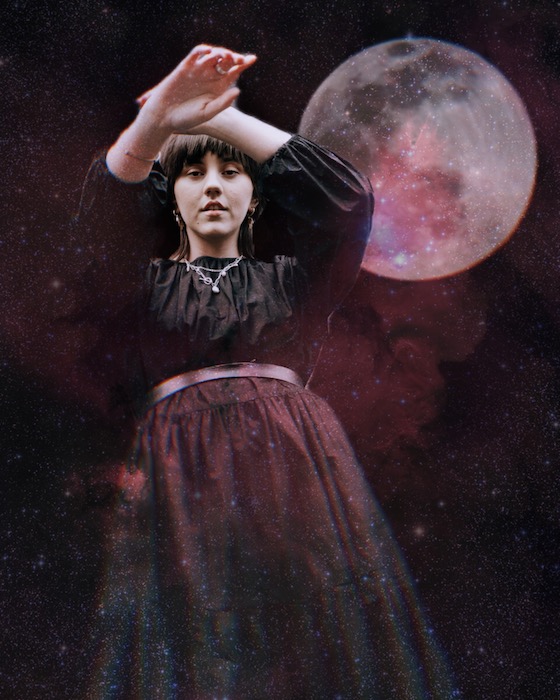
There you have it! Now you know how to set your full moon intentions and create the perfect full moon post. Don’t leave us hanging on your fab creation. Show it off! Start by following AirBrush on Instagram at @AirBrushOfficial. Then use the tag #AirBrushApp on your next post and we might just feature it on our official stories. See you at the next full moon!